
The iBoot + MultiBeast method is designed and tested for any desktop or laptop running the latest line of Intel processors, the Core i3/i5/i7s. I have had reports of Success with older machines as well including CoreDuo, Core2Duo, and even Pentium 4. However, AMD processors are not supported.
YOU WILL NEED
- A computer running an Intel Processor
- A blank CD
- A iATKOS L1, L2 / S3 / Retail DVD
- To leave any fear of your computer at the door.
- Patience and humility- it may not work out perfectly the first time- but with enough tenacity and grit, you'll reach the promised land. It's easy to get frustrated, but don't give up! There are a community of users with similar hardware in the iATKOS L2 Forum to provide support if you get stuck.
- If you have greater than 4gb of RAM, remove the extra RAM for a maximum of 4gb. You can put back any extra RAM in after the installation process.
- Use only 1 graphics card in the 1st PCIe slot with 1 monitor plugged in.
- Remove any hard drives besides the blank drive being used for OS X.
- Remove any USB peripherals besides keyboard and mouse.
- Remove any PCI cards besides graphics- they may not be Mac compatible.
- If using a Gigabyte 1156 board, use the blue Intel SATA ports- not the white Gigabyte SATA ports.
- It's best to use an empty hard drive- you will have to partition and format the drive.
- Always back up any of your important data.
You will need to set your BIOS to ACHI mode and your Boot Priority to boot from CD-ROM first. This is the most important step, and one many people overlook. Make sure your bios settings match these. It's not difficult- the only thing I did on my Gigabyte board besides setting Boot Priority to CD/DVD first was set Optimized Defaults, change SATA to AHCI mode, and set HPET to 64-bit mode.


STEP 2: INSTALL MAC OS X
In order to boot the Mac OS X Retail DVD, you'll need to download and burn iBoot. For desktops and laptops using unsupported Intel CPUs and graphics, a legacy version of iBoot can be downloaded here.

- Download iBoot
- Burn the image to CD
- Place iBoot in CD/DVD drive
- Restart computer
- At boot prompt, eject iBoot

- Insert your iATKOS L2 Retail DVD and press F5
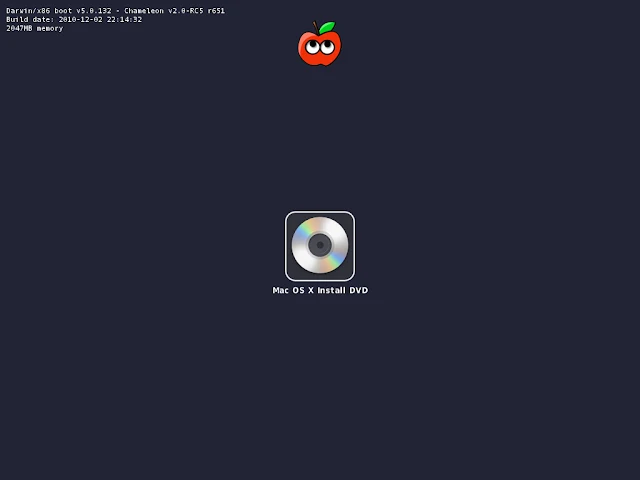
- When you see the screen below, press enter to begin the boot process
- When you get to the installation screen, open Utilities/Disk Utility. NOTE: If you cannot get to the installation screen, retry from Step 4, type PCIRootUID=1 before hitting enter. If that doesn't work then try PCIRootUID=1 -x or just -x which will enter Mac OS X Safe Mode and will allow you to proceed. For some graphics cards, use GraphicsEnabler=No boot flag to proceed.
- Partition your hard drive to GUID Partition Table
- Format your hard drive to Mac OS Extended (Journaled). NOTE: The bootloader can only boot from a disk or partition of 1 TB or less. Partition larger drives.
- For the purposes of this guide, name it Snow Leopard. You can rename it later.
- Close Disk Utility
- When the installer asks you where to install, choose Snow Leopard
- Choose Customize‚ and uncheck additional options. This will hasten the install process. You can always install this stuff later.
- Restart computer.
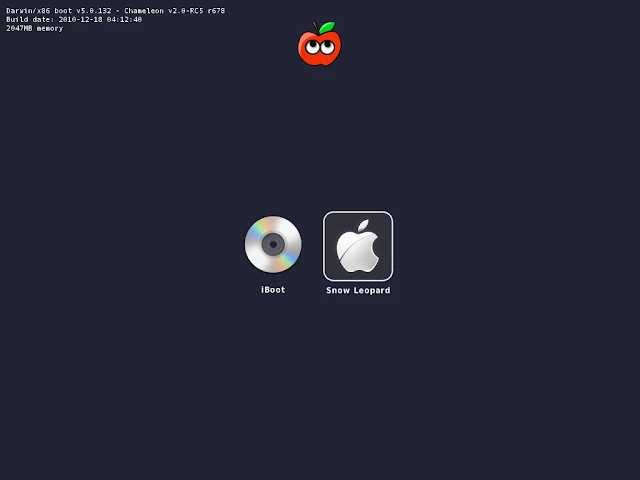
- Place iBoot back in drive.
- When you get to the boot selection screen, choose your new Snow Leopard installation.
- View the super-cool iATKOS L2 Welcome Video, and set up your computer usin MultiBeast 4.3!
What's new in MultiBeast 4.3...
- Updated Chimera to v1.8.0
- Renamed NVIDIA GF100 Fermi Patches to NVIDIA 4xx/5xx Support
- Renamed OpenCL Enabler 10.7.0 / 10.7.1 to 10.7.0 / 10.7.1 netkas OpenCL Enabler
- Removed OpenCL Enabler 10.7.2
- Added 10.7.2 / 10.7.3 Combo OpenCL Enabler.
- This new enabler contains the functionality from the old OpenCL Enabler plus adds cmf's OpenGL patch and MacMan's patch to add the missing NVIDIA device IDs.
- Renamed ATI 48xx Patches to ATI 48xx Support
- Moved ATI 48xx Device Injector to ATI 48xx Support -> ATI 48xx Device Injector
- Renamed all ATI 48xx Patch for 10.7.x to 10.7.x netkas ATI 48xx Patch
- Added 10.7.3 netkas ATI 48xx Patch for 10.7.3 to Graphics -> ATI 48xx Support
- Added flAked SpeedStepper to Drivers & Bootloaders -> Kexts & Enablers -> Miscellaneous
- Added maolj's AtherosL1cEthernet to Drivers & Bootloaders -> Kexts & Enablers -> Network
- Removed OSx86 Software.
- The programs in this choice are now available for download here.
- Added 10.7.2 / 10.7.3 Combo OpenCL Enabler to EasyBeast and UserDSDT installs.
- Changed npci=0x2000 to npci=0x3000 for all kernel flags.
- Removed backup function from any script that was backing up and patching kexts.
- Updated IntelCPUMonitor to v1.0.1 rev505
Post a Comment